# Settings
# App Setup
# Enable InquestPRO in Project & Initial Settings
The Application setup page is where you can enable the Inquest Pro for the project and select the region where users want their project's testing data to reside.
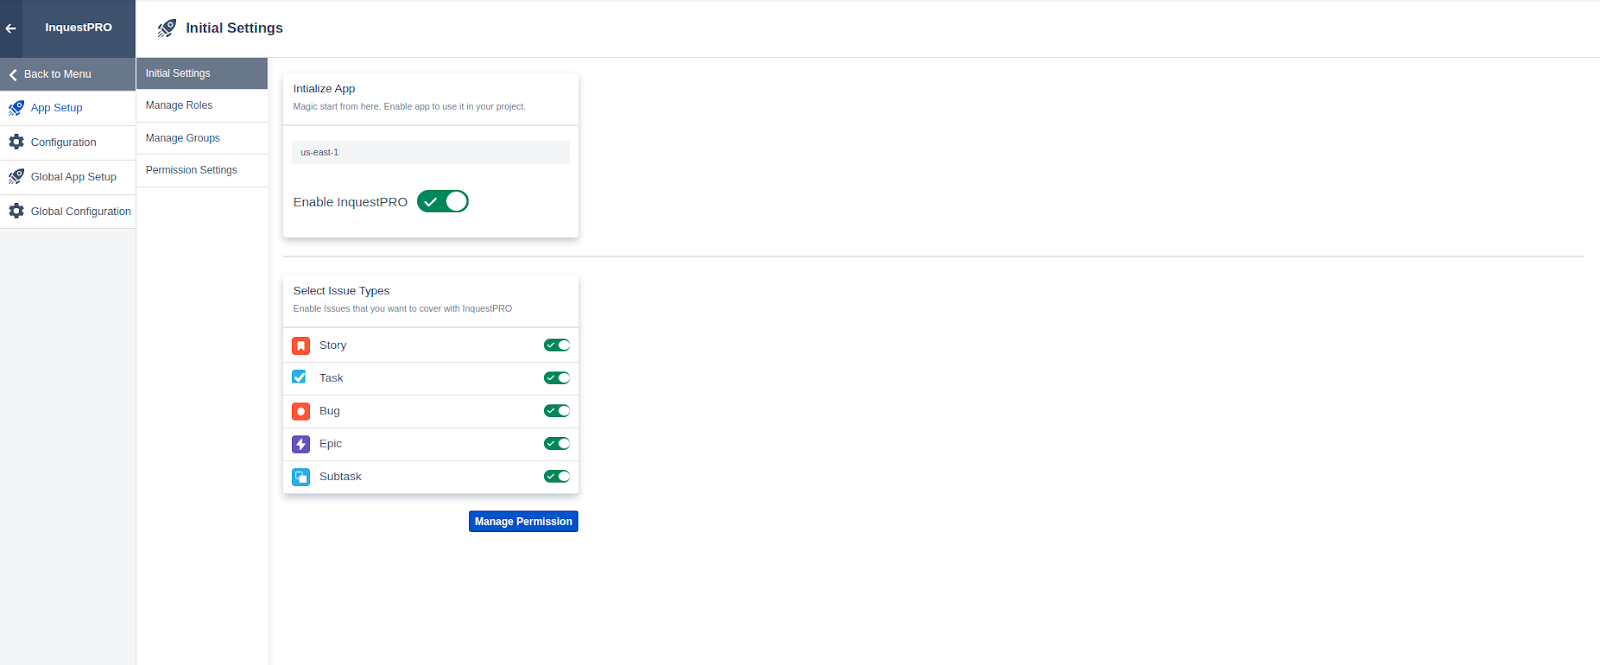
To activate InquestPro on your Jira project, activate the enable switch, making sure to select the region where the data will reside.
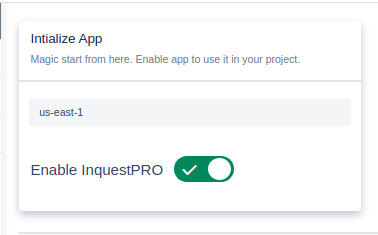
WARNING
Users cannot change region after enabling Inquestpro and selecting region for the first time.
Once the tool is enabled,the user can configure basic settings in the application for the project as follows :
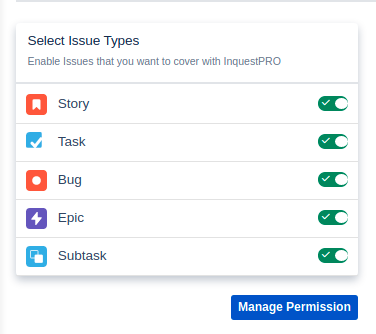
- Select specific issue type by enabling them in InquestPRO
- Manage/set permissions by clicking on the "Manage Permissions" tab in the menu, where one can update permissions for project users according to their role/ group assigned.
TIP
InquestPro allows permissions management both at project level as well domain level (multiple Jira projects). For that, please note that there is a provision to perform Global App Setup at domain level which applies to all projects in that domain.
# Role Base Access Control
Some projects require granular access controls in order to define who can have access to each part of a system, as well as what they can do with that access. In that case we recommend activation of Permission Settings as shown below:
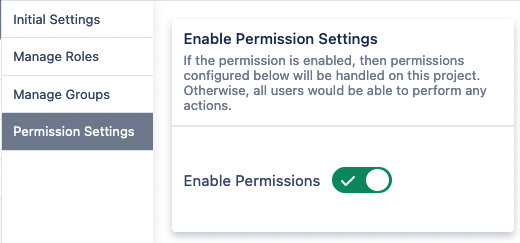
When activated, the Jira Administrator user can define User Groups, Roles and define the permissions given to each role.
# Manage Groups
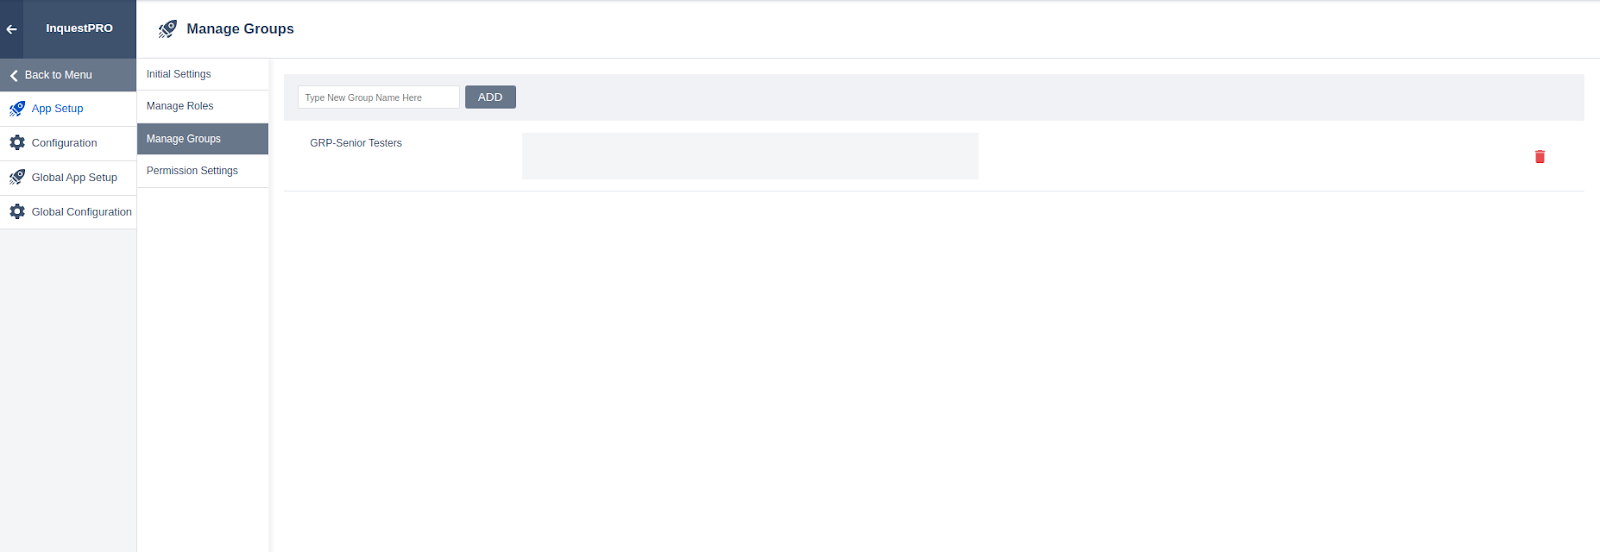
This is a Group Management where you can add different Groups for a particular project and assign users in that particular group.
The user is represented here with an avatar icon
Step 1: Add Group -> In this we add a new Group
Step 2: Add Users -> In the textarea next to Group, an autosuggest list of users in the project will come and we can select and assign the selected user against that group.
# Manage Roles

Role Management allows you to add different roles for a particular project and assign the roles created to project users.
In this page, you can assign users and groups in a particular role. Different icons are used to represent users and groups in the same dropdown. These roles are used in the manage permission section to provide specific permission in InquestPRO for various features to that particular role.
Step 1: Add Role -> Add a new Role
Step 2: Add Users/Groups -> In Textarea next to Role, an autosuggest list of users/groups in the project will appear and we can select and assign the role to the user/group selected
# Permission Settings
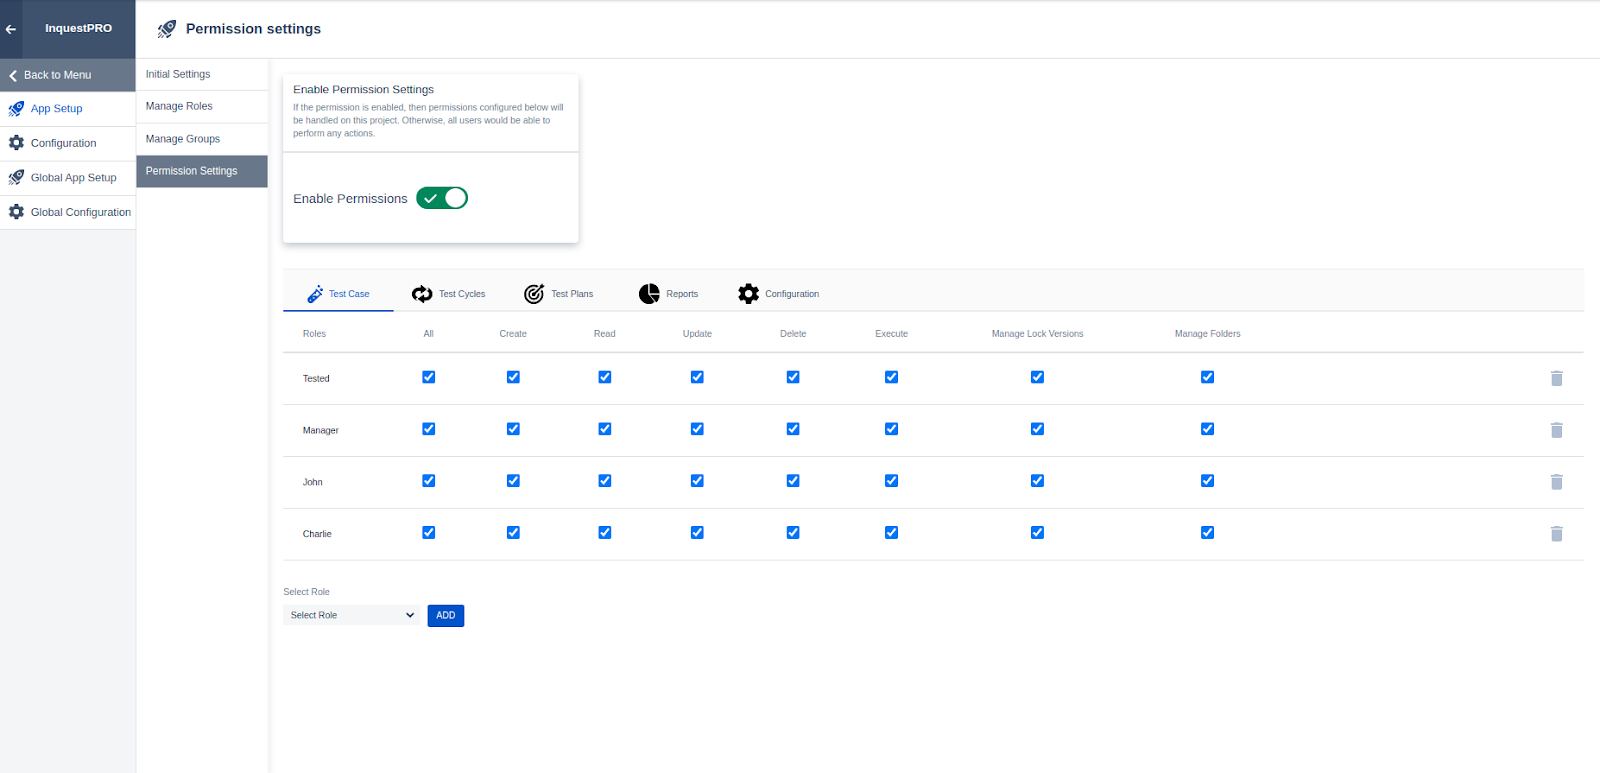
The RBAC setting page allows you to assign different permissions to a particular role created in the project, for various features of InquestPRO.
The Permissions page is accessible to Jira Admin, Domain Admin, and Project Admin at the project level to give Role-Based Access permissions, to users/groups, who are being assigned that Particular Role.
At the bottom, there is a role dropdown where you could add unused roles in specific section's permission tabs.
Use the delete icon to delete all permissions for a specific role.
# Configuration
# Environment Variable
In the Application Configuration screen, the user can set Default values for few properties of Inquest Pro Features.
TIP
InquestPro allows configuration to be done both at project level as well domain level (multiple Jira projects). For that, please note that there is a provision to perform Global Configuration at domain level which applies to all projects in that domain.
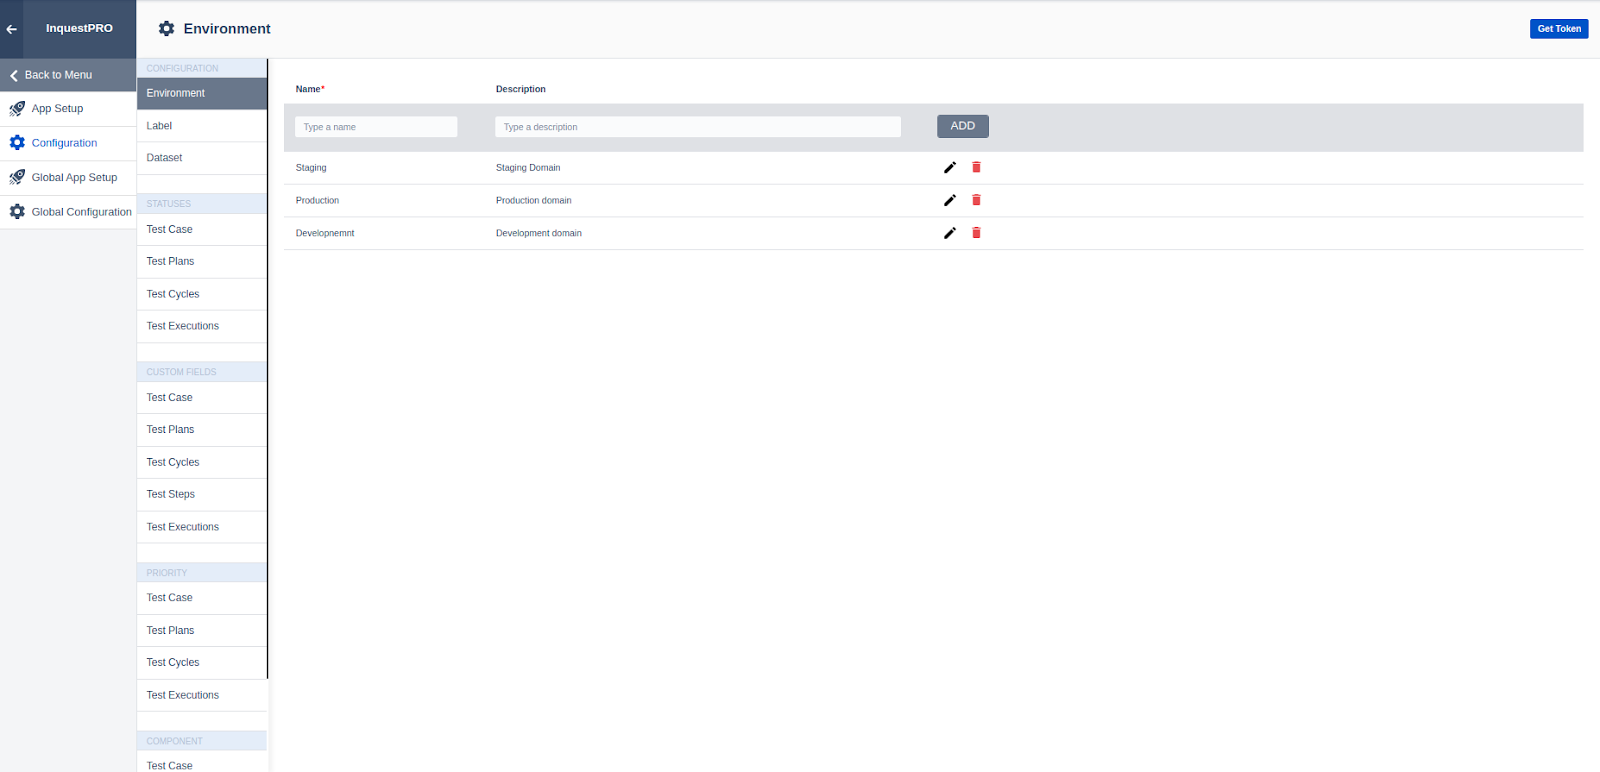
In the above screen, we can set the values for the Environment variable which needs to be assigned while creating a Test Case, Test Cycle, etc.
A user can assign a Name and description to the Environment variable.
The environment can be Development, Stage, Production, Testing, etc.
# Label Variable
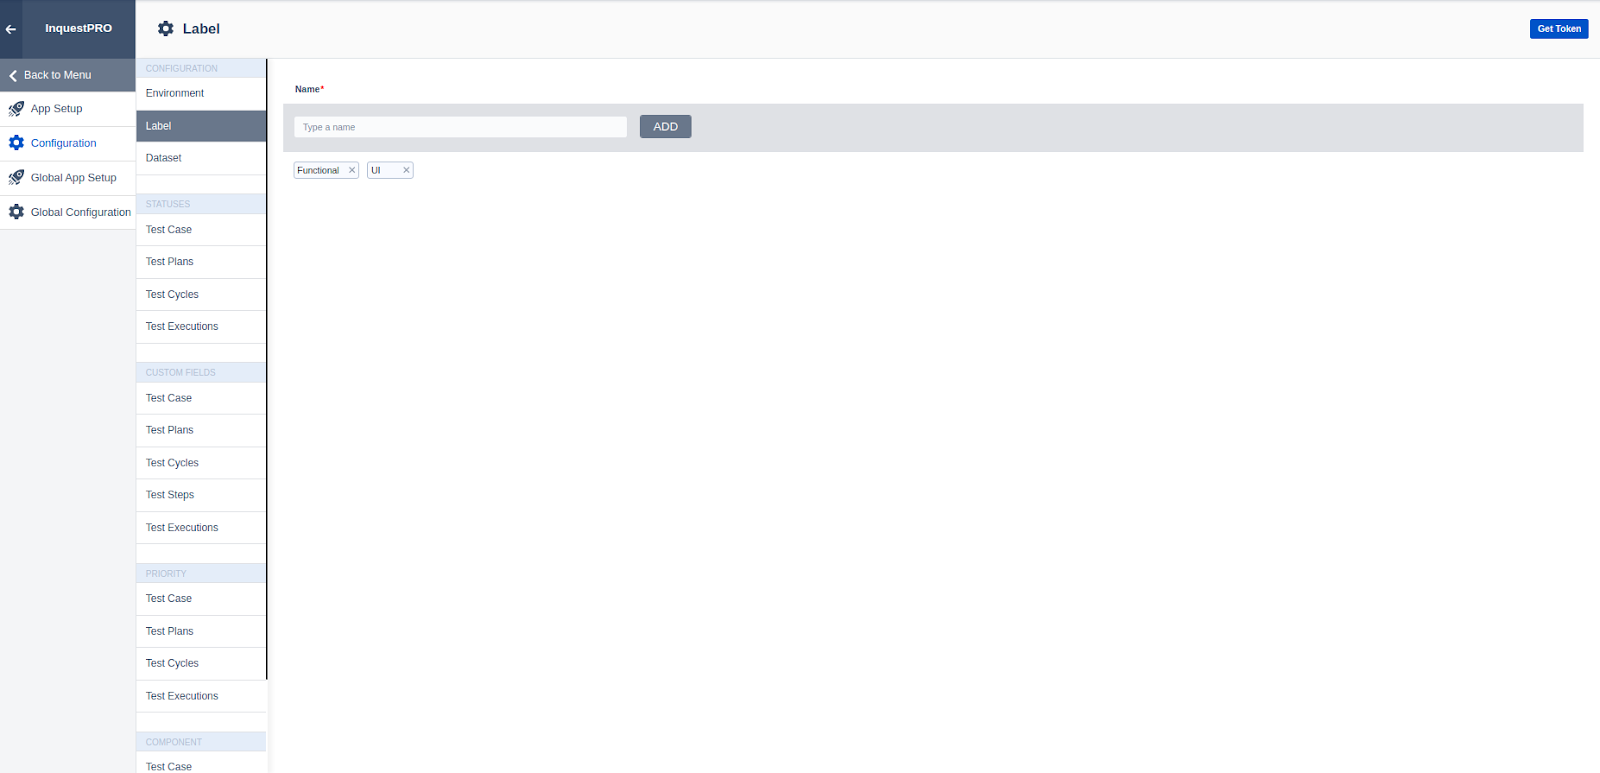
In label Variable, a user can assign a name to create a label. By clicking on the cross icon, the user can delete the label.
The Labels created appear in the specific roles dropdown for Label Field in Test Case, Test Cycle, etc.
# Dataset
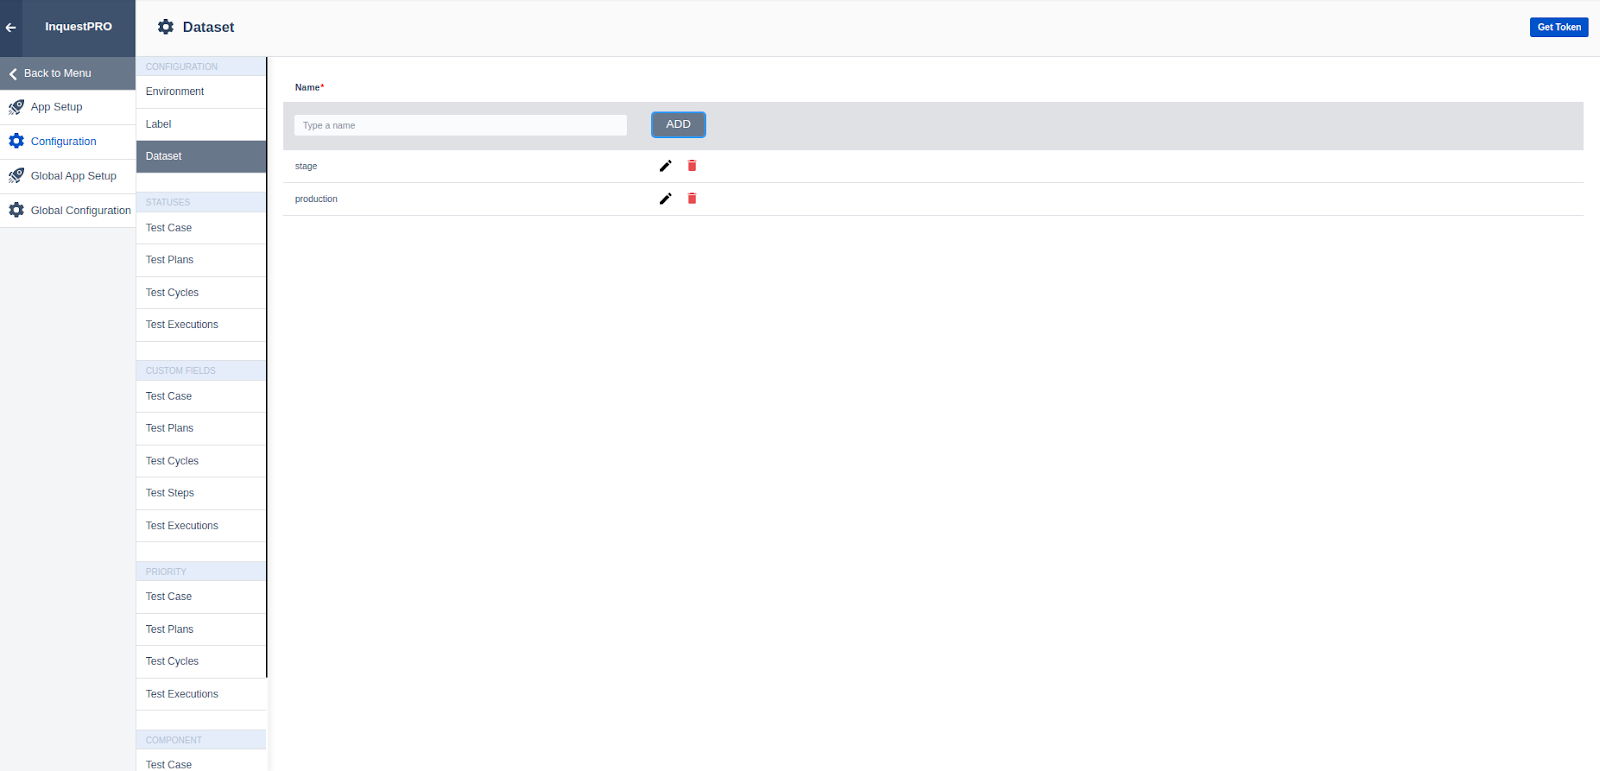
In the Application Configuration screen, the dataset is used in setting the parameter type in the Test script while creating a test case.
In order to create it, the user needs to enter the name of the dataset.
Here we have an inline edit and delete function to update and delete the dataset respectively.
# Status
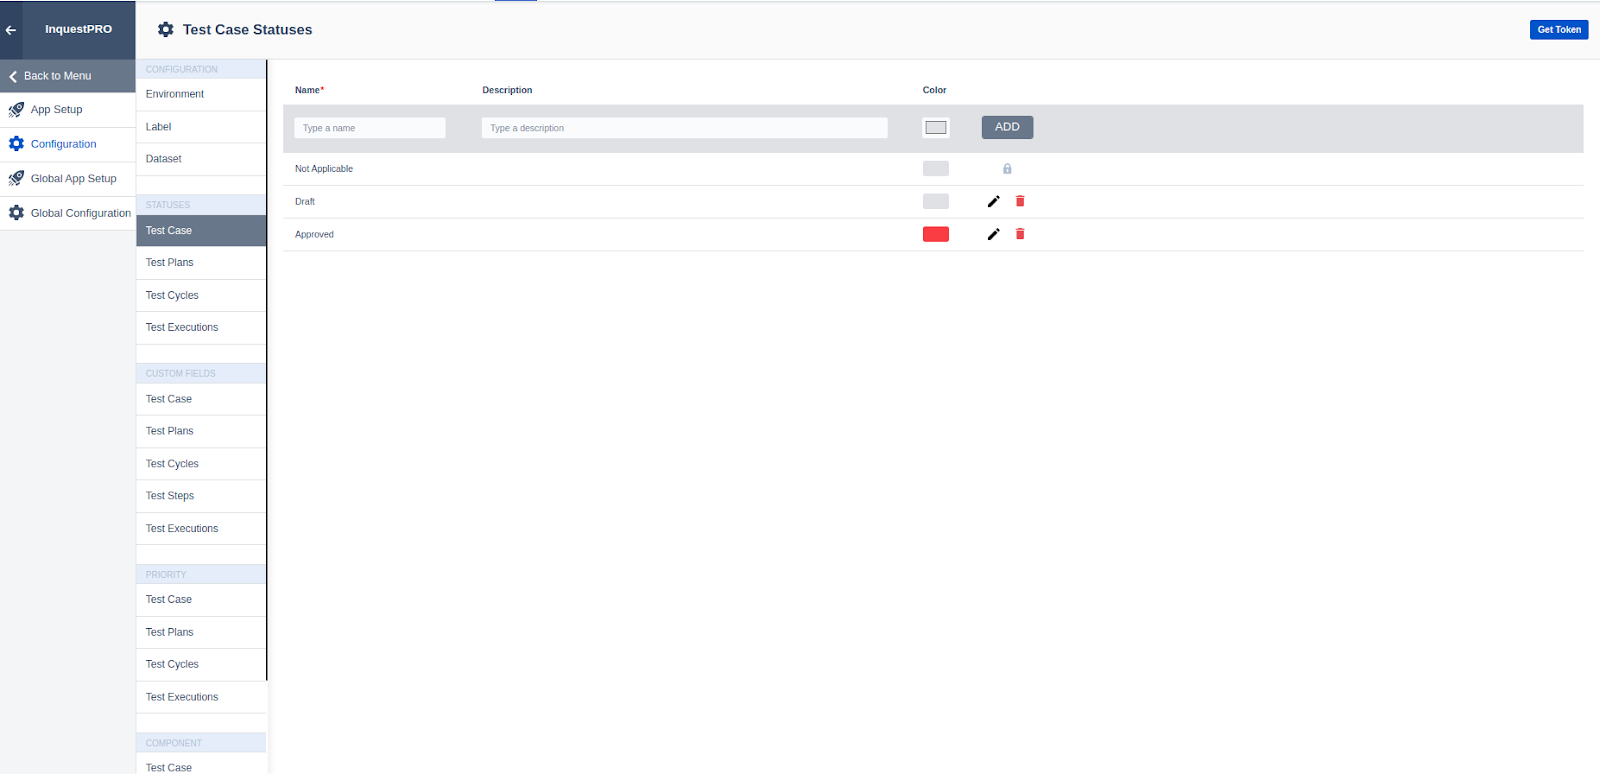
In Application configurations, there is a facility to set the Status of the Test case, Test Cycle, Test Plan, and Test execution.
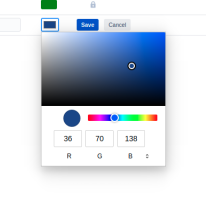
To create a status, we need to enter the following details
- Name: like Deprecated, Not applicable, approved, etc.
- Description: description of that status.
There are two types of values for status, while certain values are editable others are fixed/ locked with a lock icon which is used by test execution and not editable( only specific roles, can edit the locked values)
# Status (Test Cycle)
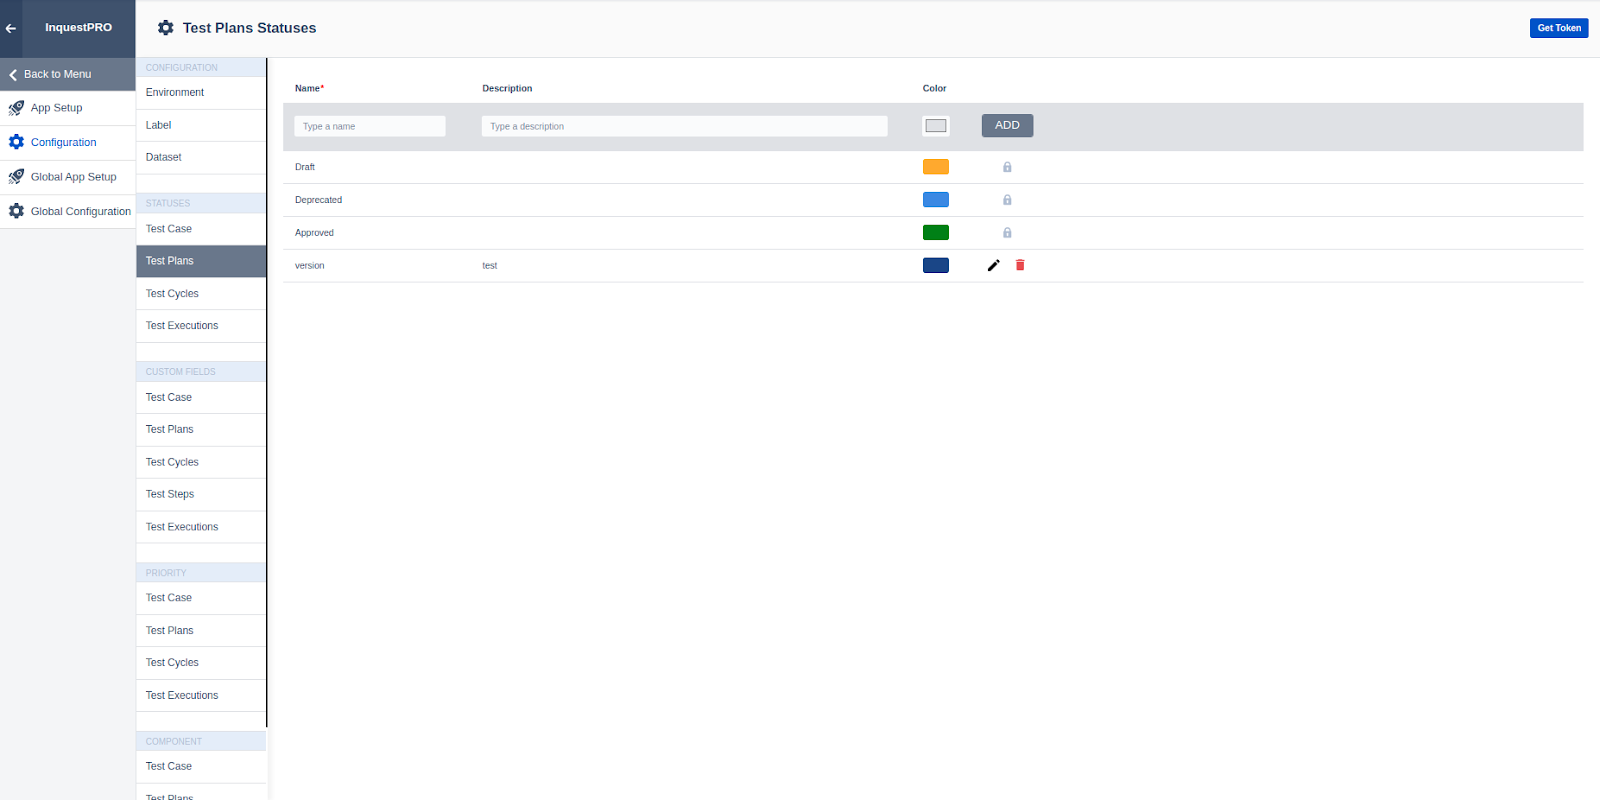
User can add status which will be available in create test cycle (Basic details) section
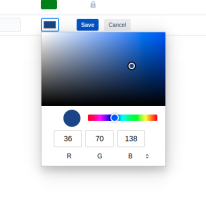
While creating status, the user can choose a color for specific status
# Status (Test Plan)
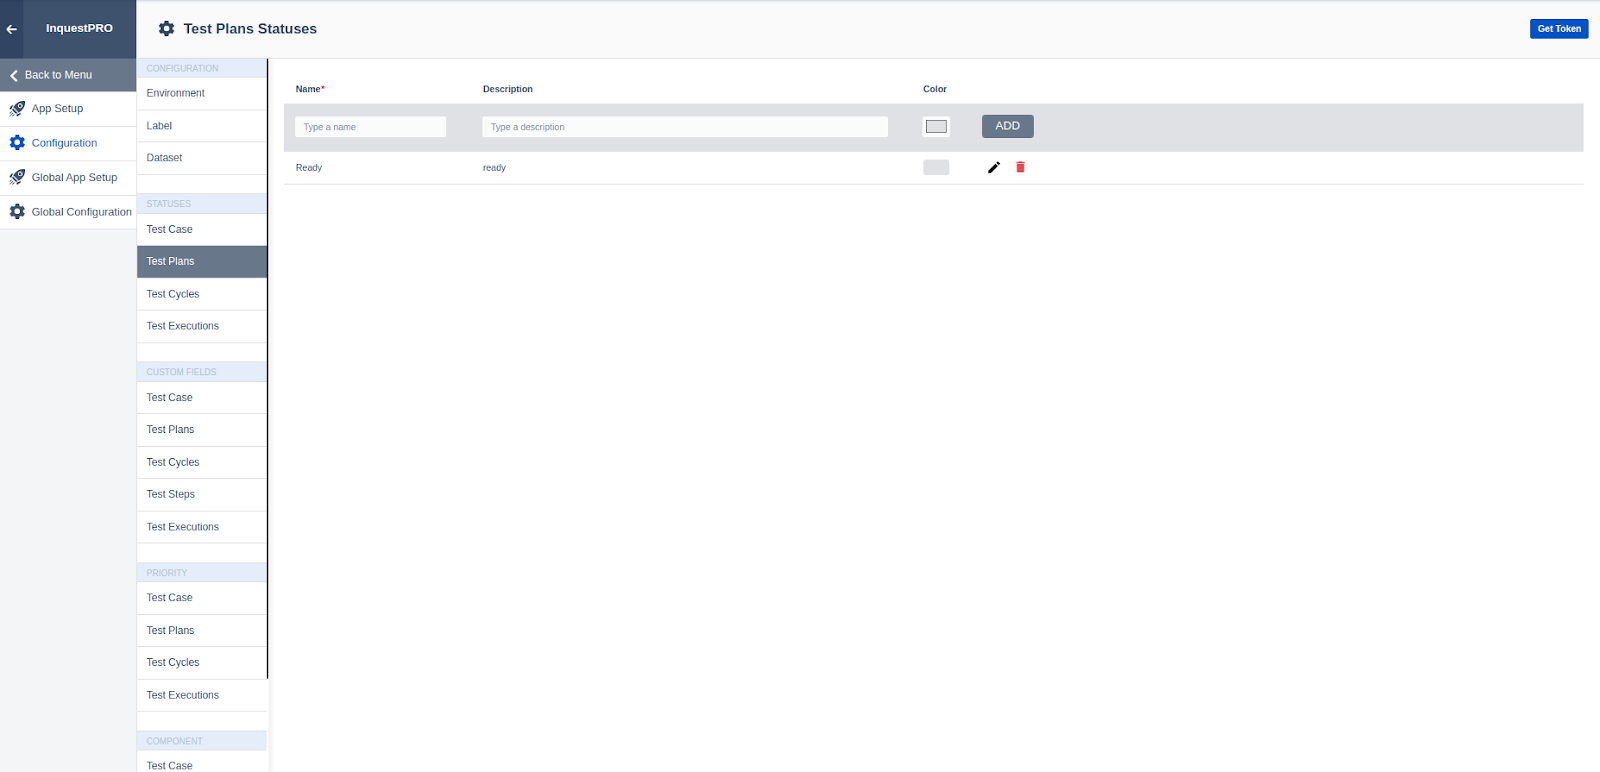
In this section, the user can add a status which will be available on a create test plan (Basic details) page.
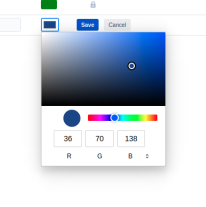
Users can add or delete status and using the color picker users can update the color of each status. Users only have access to update or delete public status; all default status can't be editable by the user. All default statuses have a lock icon.
# Status (Test Execution)
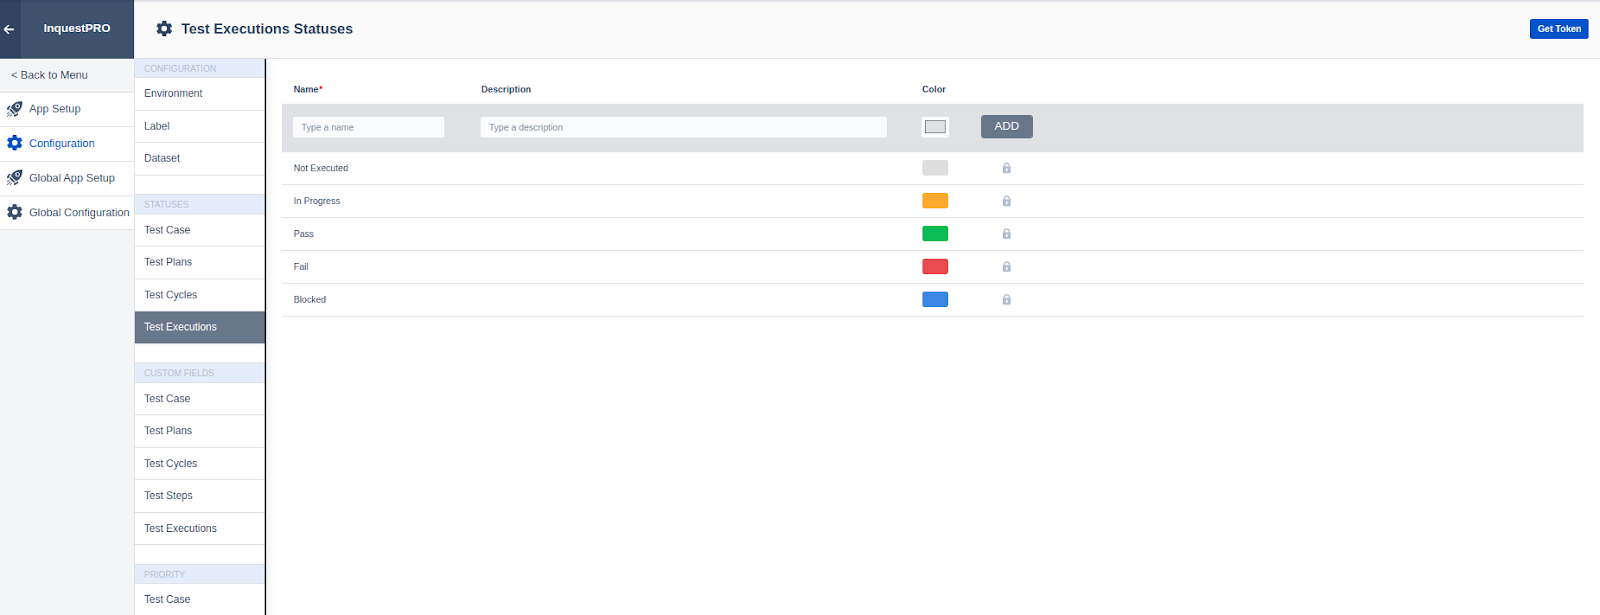
Default Values set for Test Execution status in Global Configurations are Pass, Fail, In Progress, and Executed which cannot be edited.
These values are used in test execution in a test case and test cycle section.
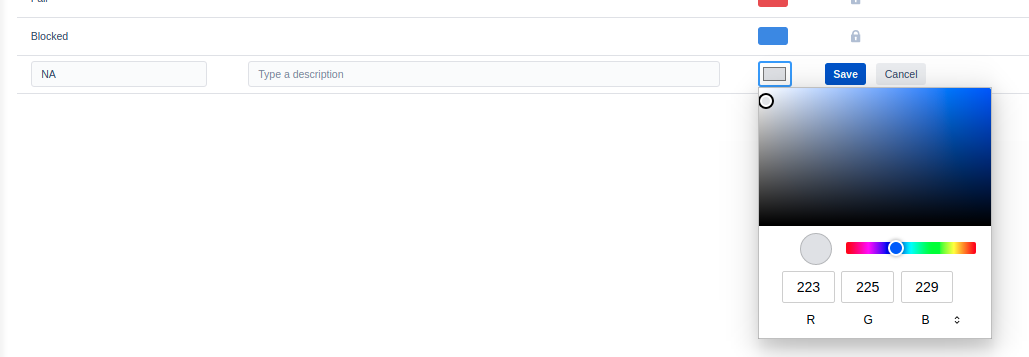
In Application Settings, you can create a status, specific to the project.
Users can create a custom status and can edit the custom status.
# Custom Fields (Test Case)
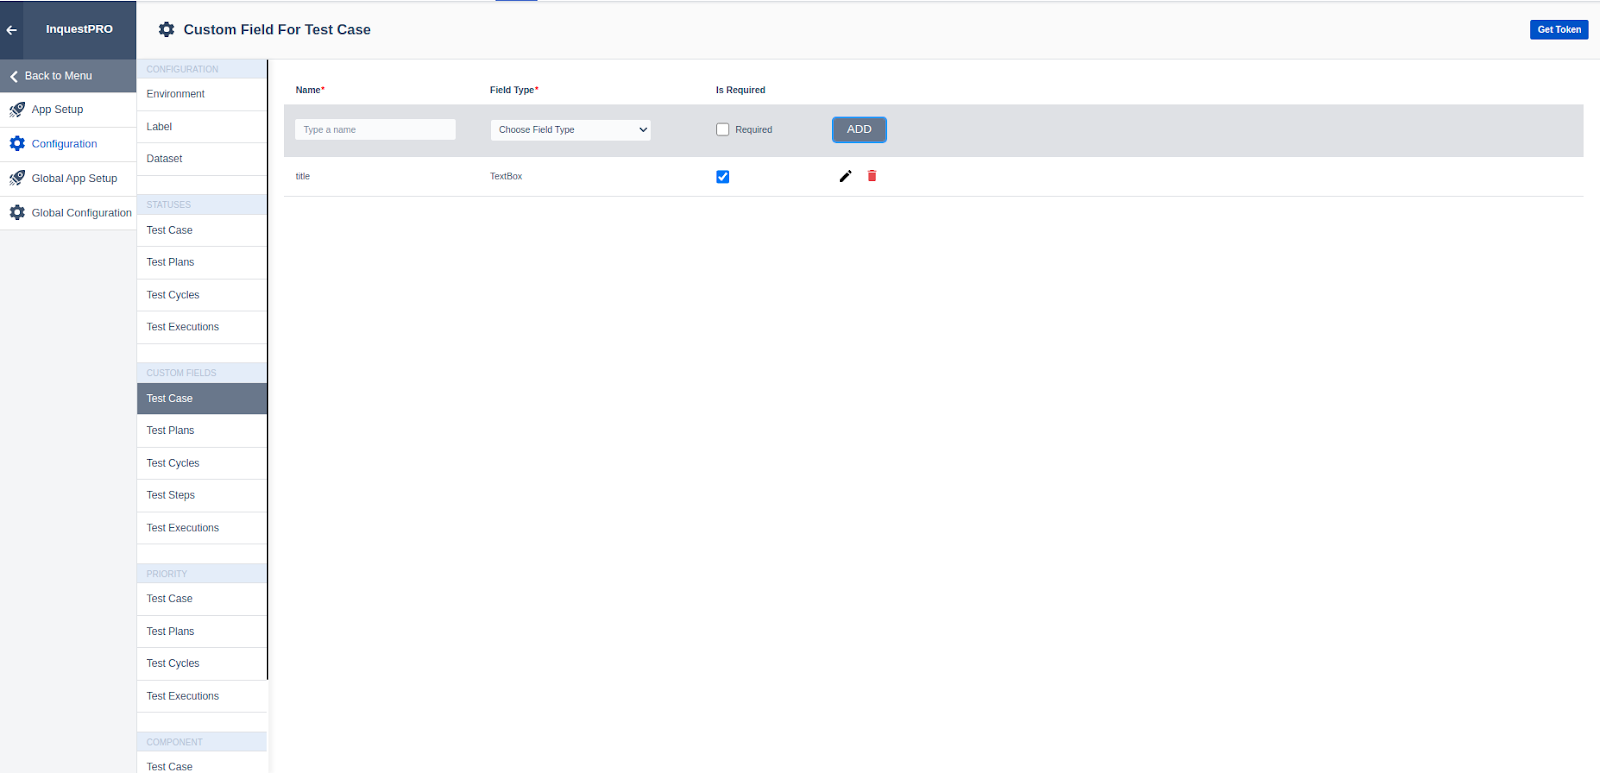
In Application Settings -> Custom Fields, we can set the custom fields required specifically for that project.
User can set custom fields for a Test case, Test cycle, Test Plan, and Test Execution
For creating a Custom Field, we need to define 3 parameters as follows
- Name of Custom Fields
- Type of Custom Field
- Option to mark it mandatory or non-mandatory
# Custom Field (Test Plan)
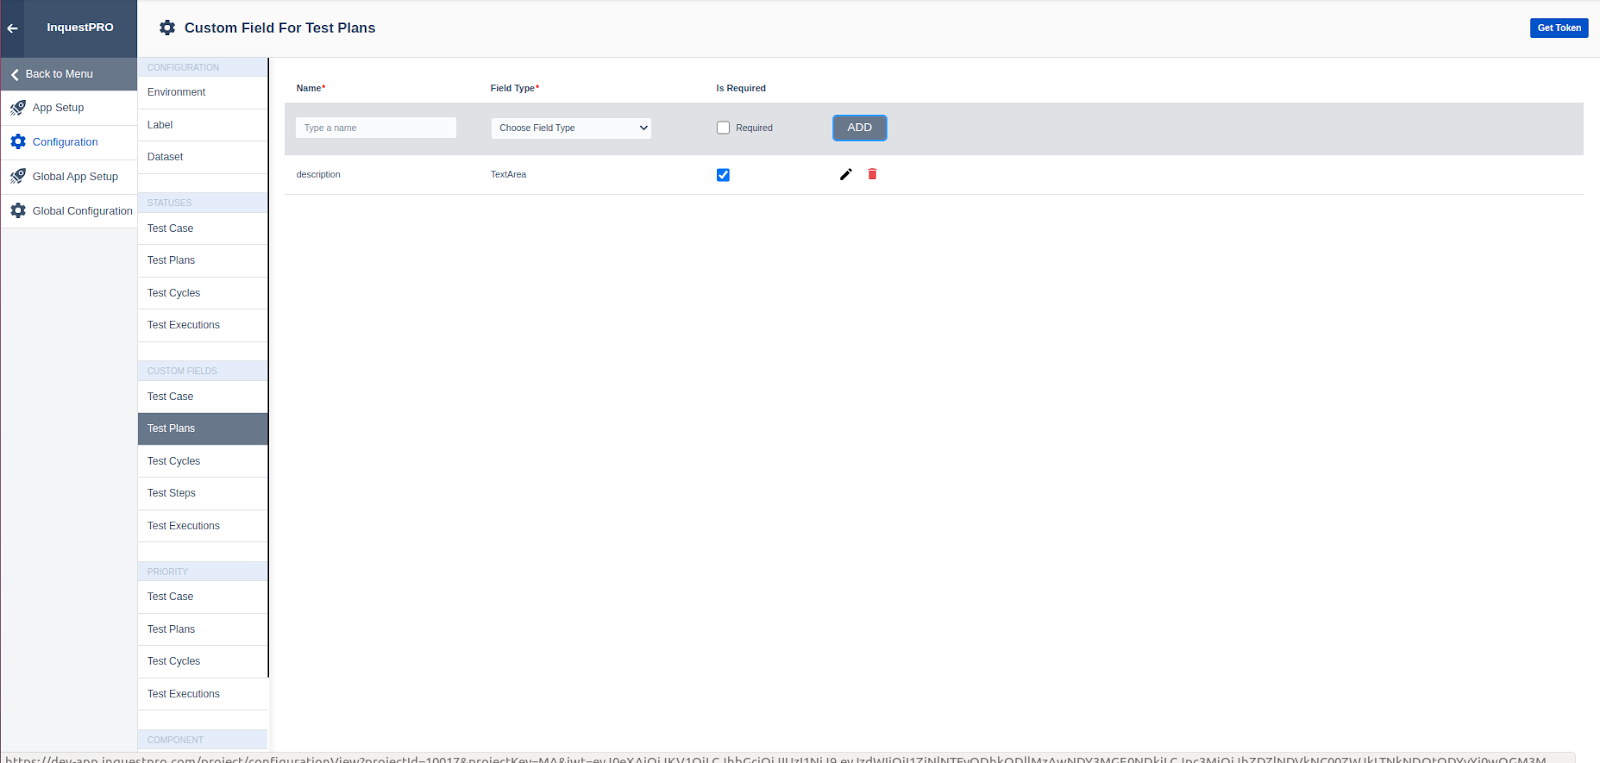
Users can add a custom field which will be available in the test plan creation (Basic details) section in other information with the option tomake a specific field required
# Custom Field (Test Cycle)
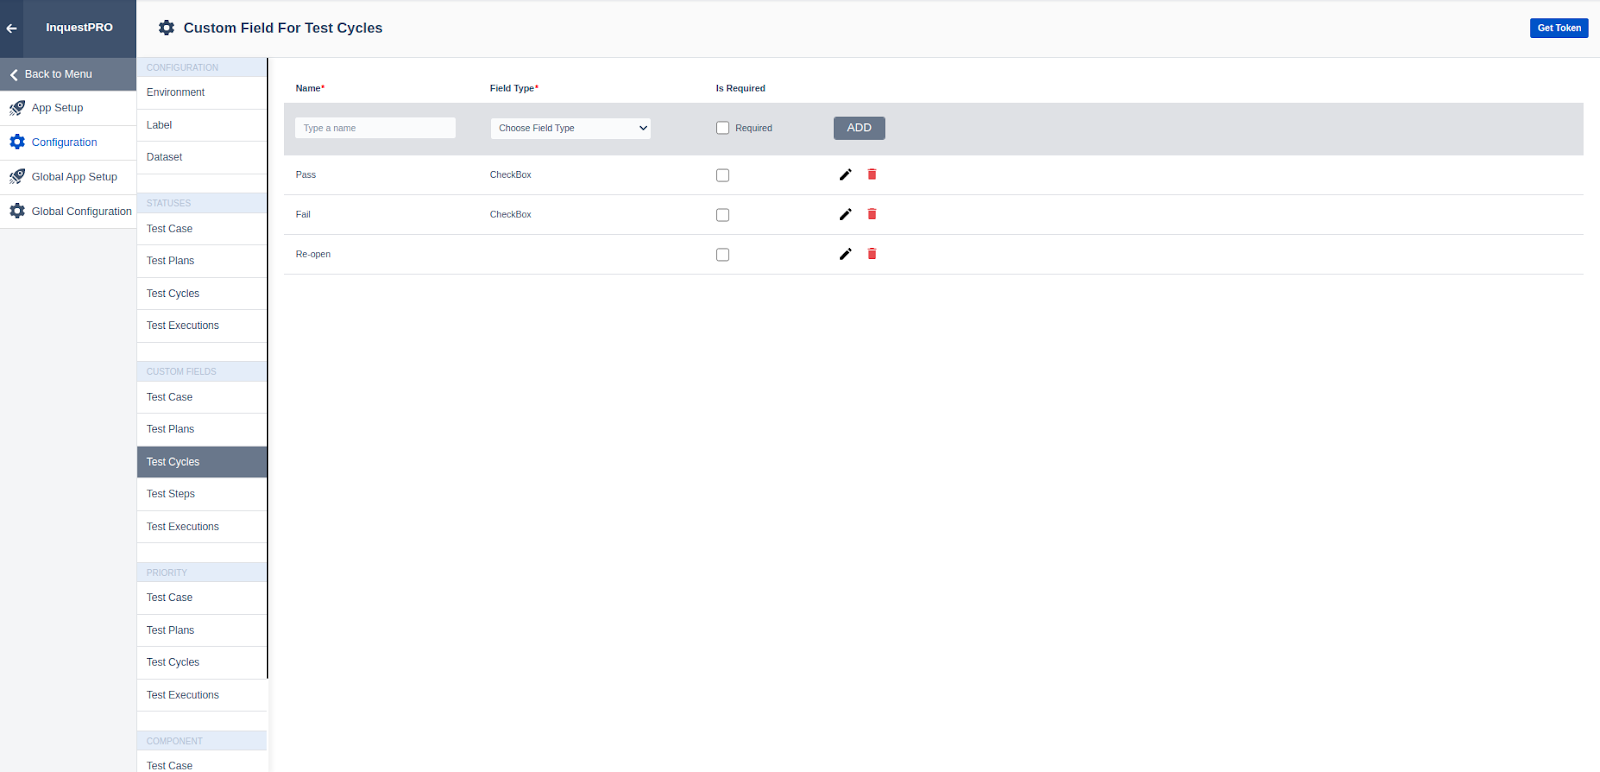
Users can add a custom field that will be available in the test cycle create (Basic details) section with the option to make a specific field required
# Custom Field (Test Execution)
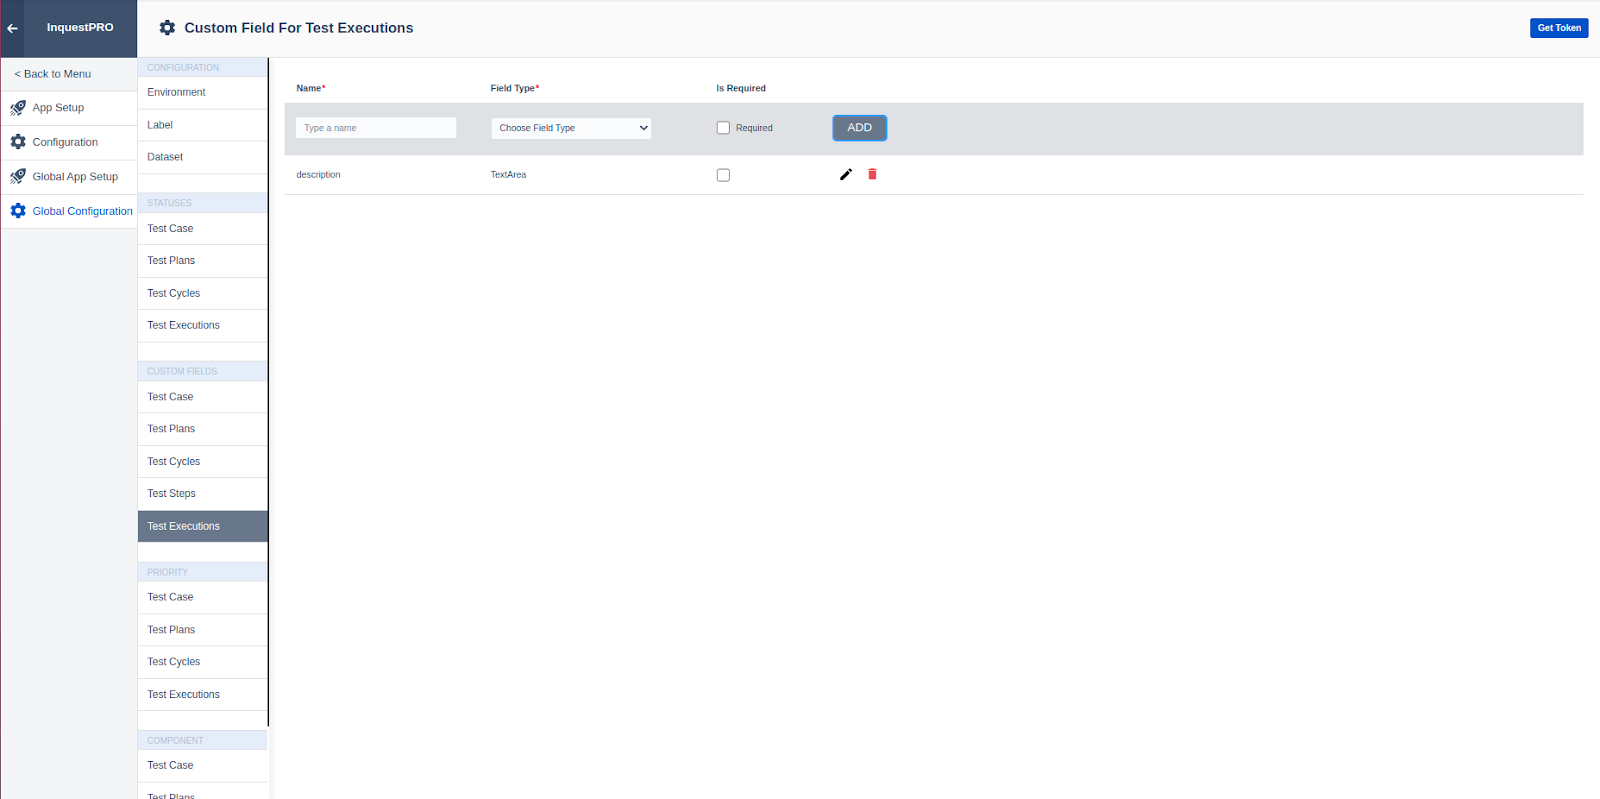
Users with specific roles can add a custom field which will be available in the test execution create (Basic details) section in other information with the option to make the specific field required
# Priority (Test Case)
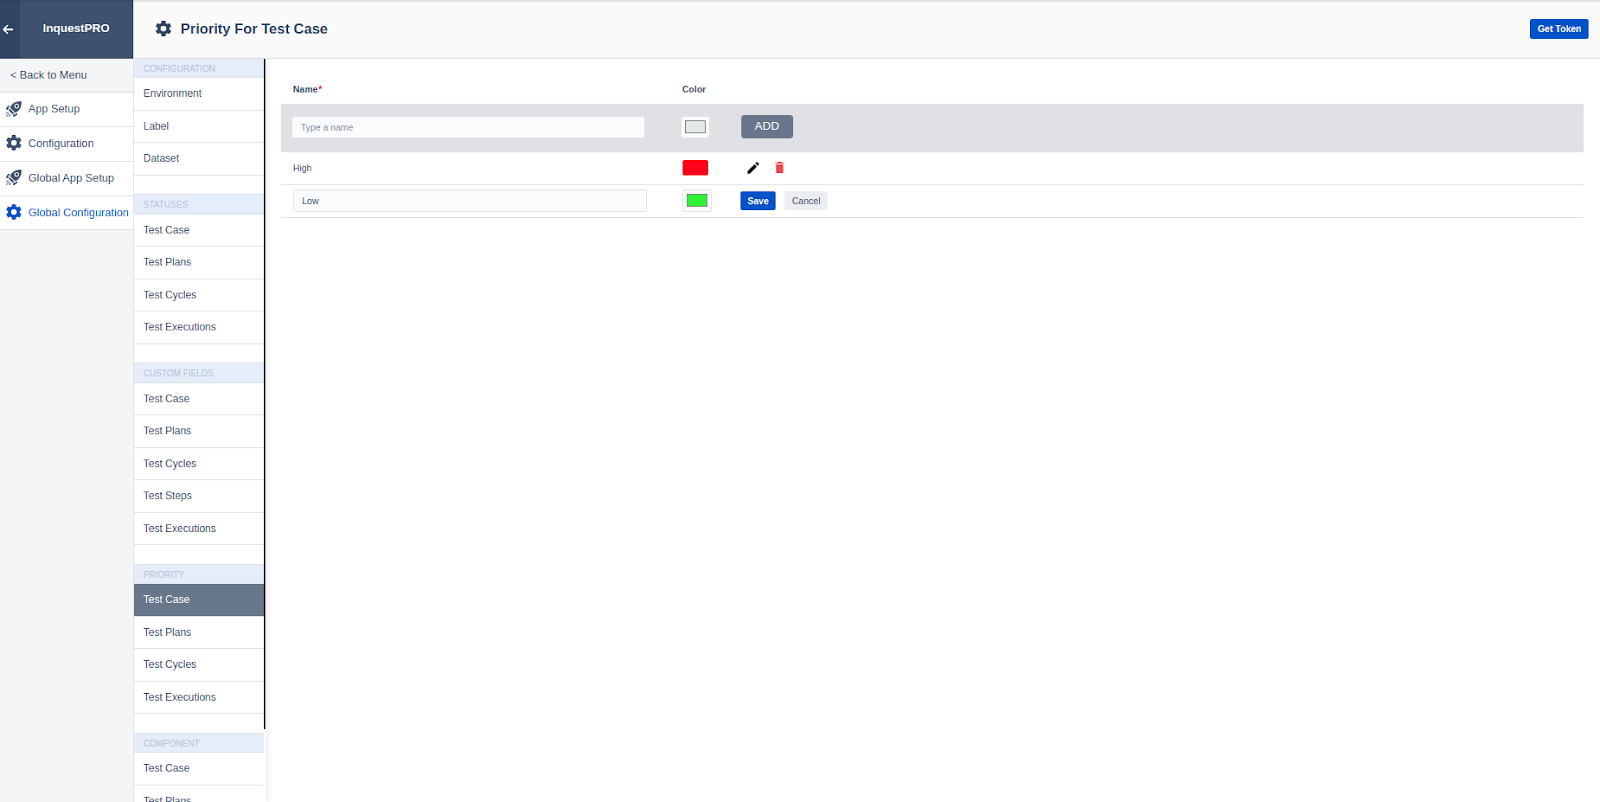
Users can add a priority that will be available in the test case creation (Basic details) section. The user needs to select a colour for priority which will be used for flag colour in the test case list
# Priority (Test Plan)
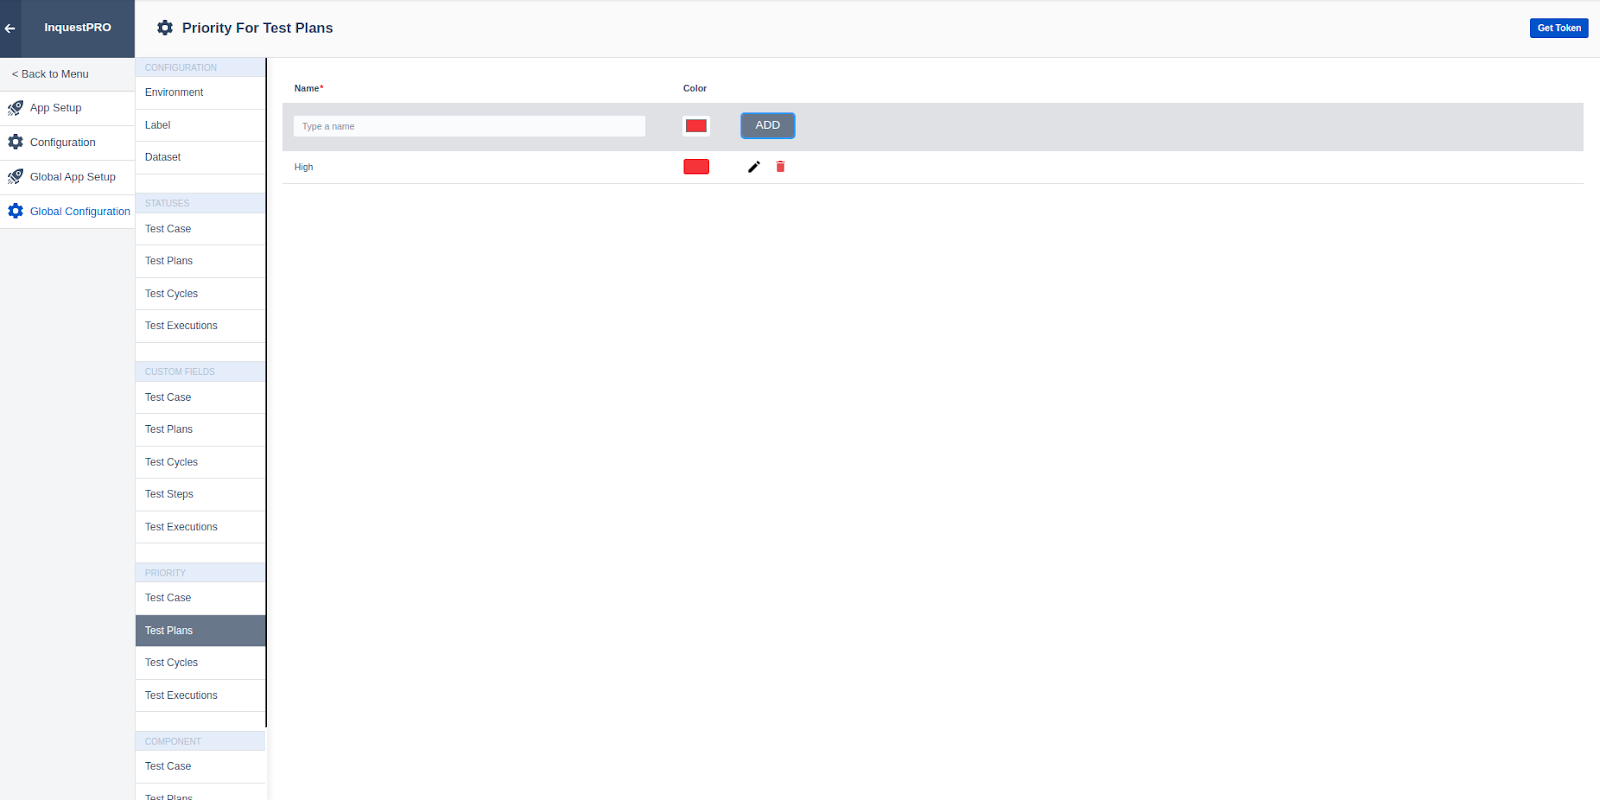
Users can add a priority which will be available in the test plan create (Basic details) section and select a color for priority which will be used in the test plan list
# Priority (Test Cycle)
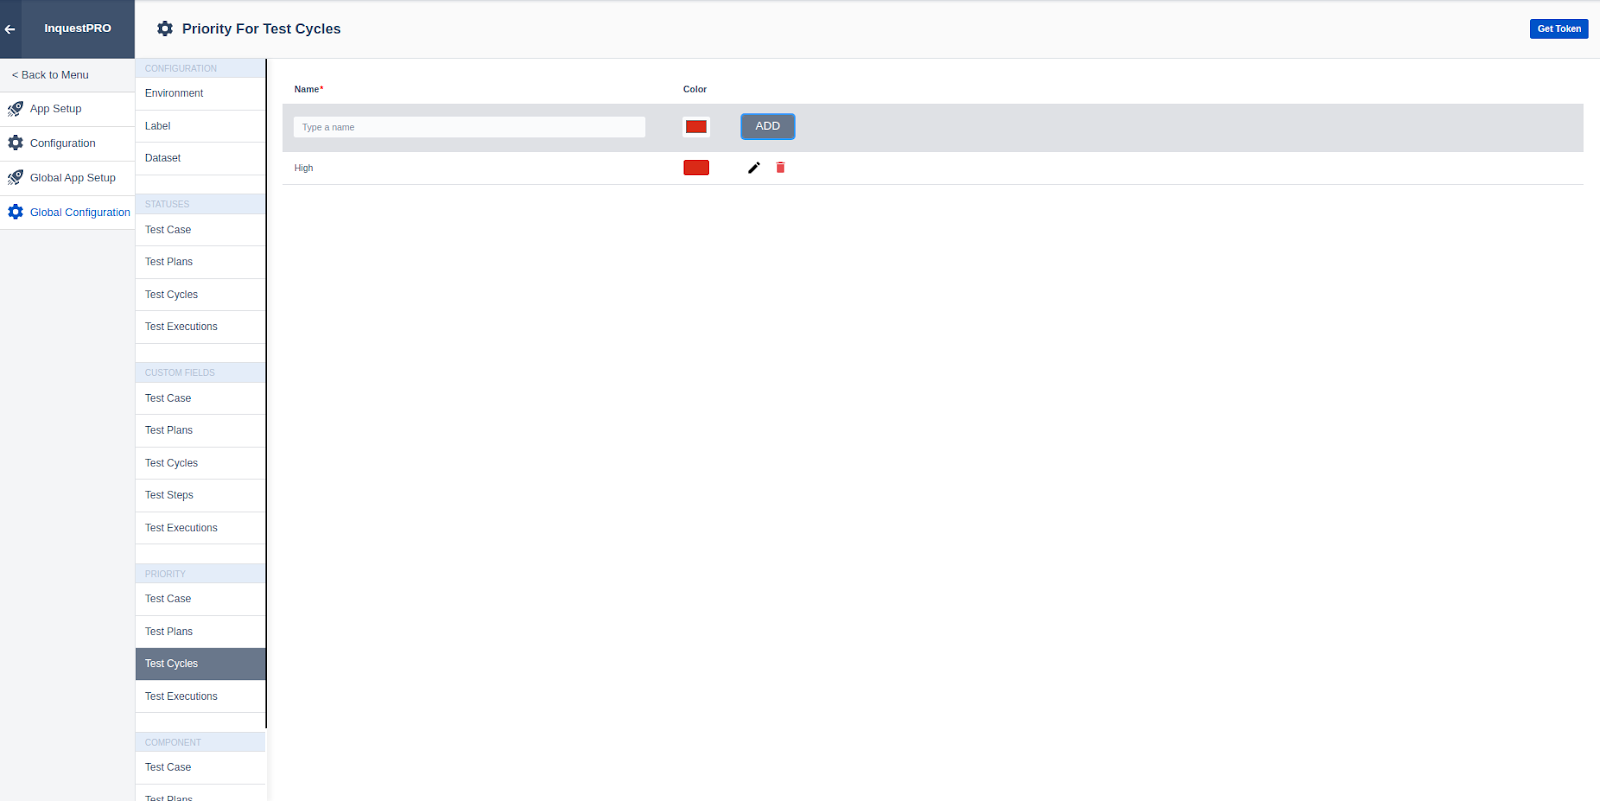
Users can add a priority that will be available in the test cycle create (Basic details) section. Users should select a color for priority which will be used as flag color in the test cycle list
# Priority (Test Execution)
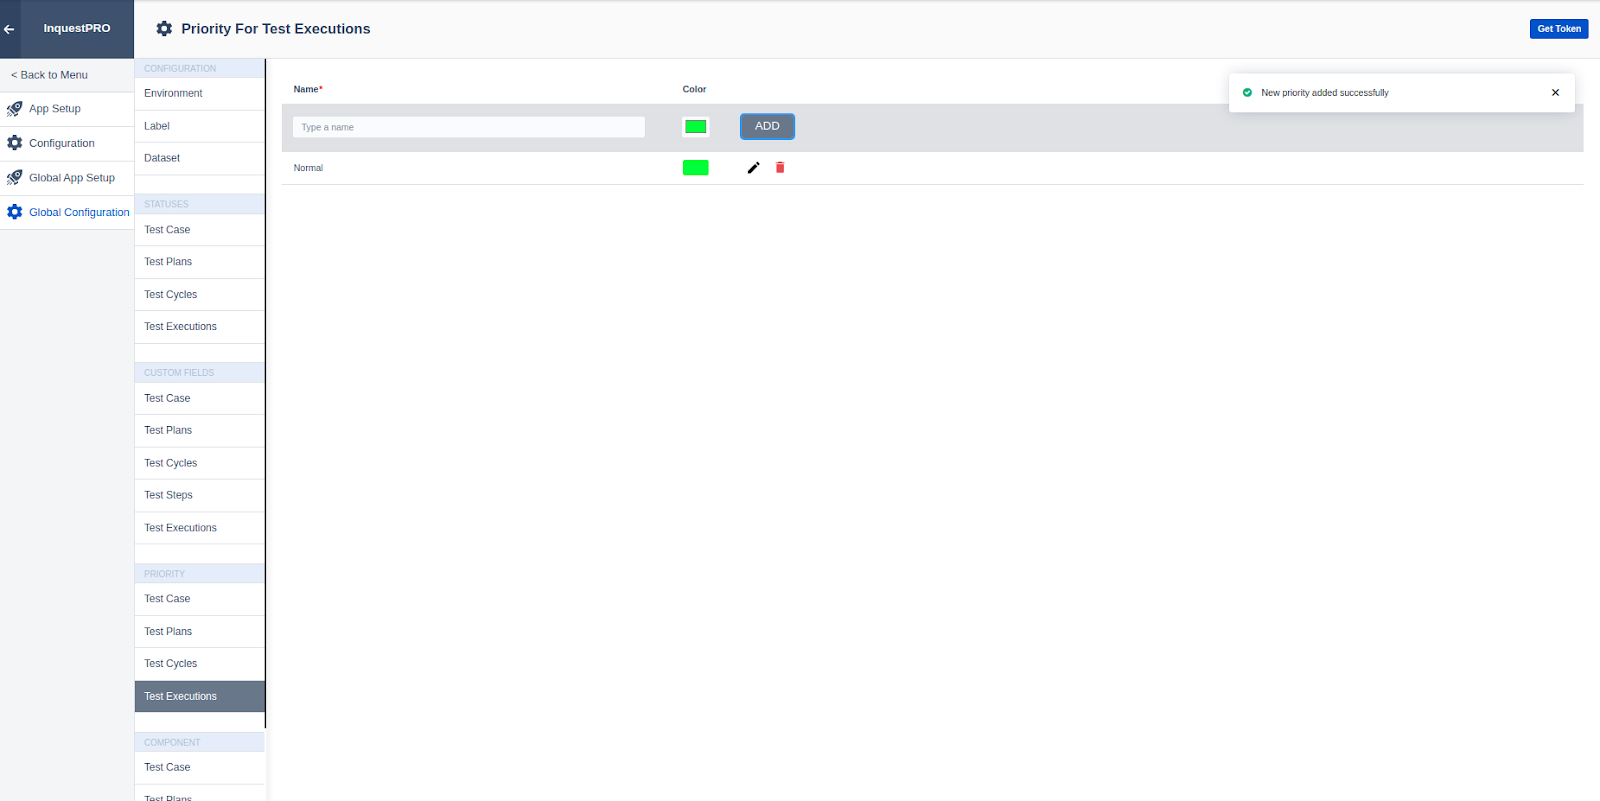
Users can add a priority that will be available in the test execution create (Basic details) section. User should select the color for priority which will be used post the execution